...
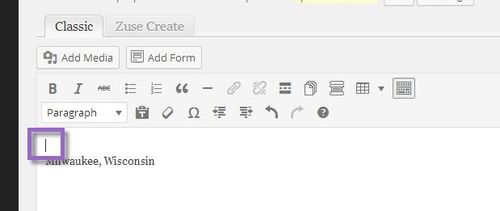
- Once in the text editor, make sure your cursor is positioned in the location where you want the document to appear in the text.
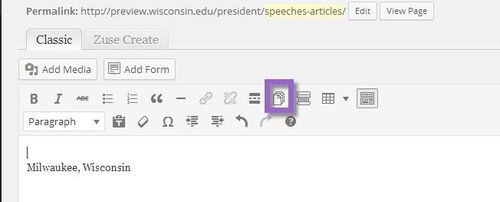
- Click on the Site Files icon.
- Within the Site Files pop-up box, you can search for the file name on the Search tab, or you can browse the documents you have uploaded . In this case, select Browse and click by category on the appropriate file. (If you do not see the document, check that the document has been uploaded to the documents list by navigating to Collections > Documents.)
 On the Browse tab.
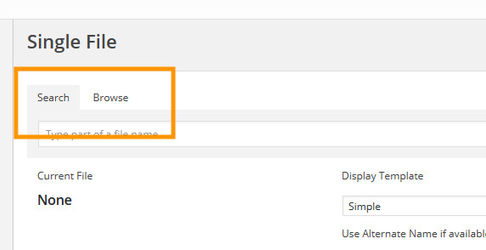
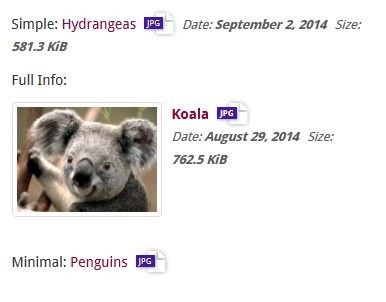
- Choose how the document will display on the right side under Display Template, specify how the document will display. There are three options as seen below - simple, full info and minimal.
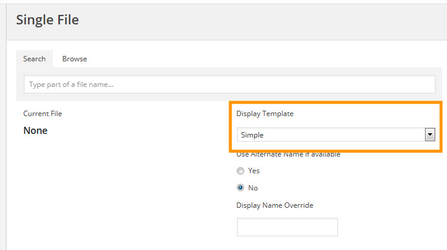
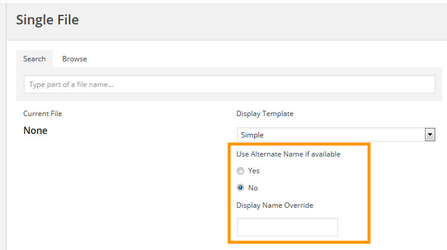
- By default, the link to the document will be the title of the document (specified when uploading the document, but this ). This can be overridden using the Alternate Name and Display Name Override options. Use the Choose yes for Use Alternate Name if available radio buttons to display the alternate name of the file. Add text to the Display Name Override to specify the custom text of for the link to the document.
- Once you have selected the file and specified the options, click Insert. The inserted file command short code will now appear in the textIn the editor, instead of the file, you will see some code surrounded by square brackets. Do not alter or edit any text within the short code brackets.
 Preview the inserted document and save your changes.This will be replaced by the link to the document when the page is viewed. Use the Preview button to view your document in the context of the page. If you need to make changes, delete the existing code and re-insert the document with the Site Files button.
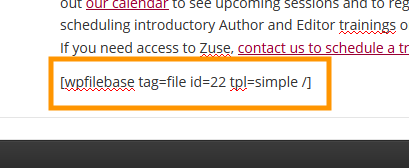
Related articles
...