Expire Posts and Pages
This page describes the PublishPress Future metabox on the page editing screen. (Previous versions were called Post Expirator.) This box allows you to expire a post or page automatically. This could be useful if a page or post has a specific amount of time where it will be relevant or accurate. If you set up post expiration, you won't have to remember to remove the post/page after it is no longer relevant.
This is a feature that needs to be turned on specifically for each subsite on wisconsin.edu. If you want to use this feature and don't see it on your pages or posts, submit a Web Request and ask to have the PublishPress Future plugin enabled on your site.
Step 1
To set a post/page to expire automatically, select the Enable Post Expiration checkbox in the Post Expirator metabox on the right-hand side of the Edit Post/Page screen. By default, the checkbox is not selected.
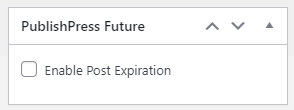
Once you select the checkbox, the options for expiring the page/post will appear.
Step 2
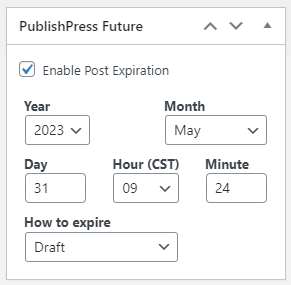
Select the Year, Month, Day, and time (Hour and Minute) for the page/post to expire.
Next, choose an option from the "How to expire" dropdown. There are 9 choices available. The recommended option is "Draft." This will unpublish the page/post but not delete it entirely, and administrators will still be able to view and manage the page/post inside WordPress. This provides a safety net for you in case you need to republish the post/page.
You can also expire the page/post by choosing "Trash" or "Delete." Both options will permanently delete the page/post and it will no longer be available on the page/post list.
We do not recommend using the other options available in the dropdown.
Step 3
To save and enable your expiration, scroll back up to the Publish metabox and click on Publish (if you are creating a new page/post) or Update (if you are updating a page/post).
Related articles