/
Add a Document List
Add a Document List
- Rachel Klingler
Owned by Rachel Klingler
This page describes how to add a Document List to a page using either Zuse Create or the Classic Editor. Also see Add a Link to a Single File (Inline) to insert an individual file onto a page. A Document List is a list of documents sorted by category or tag.
- Before you can add a document list to your page, you must first add the documents to your collection. You can either upload one document at a time or use the batch uploader to upload multiple documents at once. You will need to assign categories to your documents to be able to filter your list. The simplest category scheme is to have one category for each list you want to include on your site.
- In the Classic Editor, put your cursor where you would like to insert the document list. Select the Site Files button
 , and in the Site Files pop up box click the File List option on the left side. It is difficult to edit a document list in the Classic Editor once you have created it. If you think you will want to change the list frequently, use Zuse Create if possible.

In Zuse Create, add a new module to your page and select Document List.
- Using Zuse Create, on the Files tab of the Document List configuration box, you can specify a title for your list if desired. If you are using the Classic Editor, you can use the text editor to add a title after you have completed the configuration.
- Select the categories you would like to be included in the list by clicking on the name of the categories. If you would like files from all categories to appear, you can select the Include all Categories checkbox. Otherwise, select the names of the categories you would like to display.
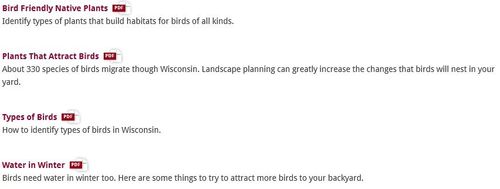
- You can also filter by keyword or tag. To display only files with a certain tag, specify the tag in the Filter files by search keyword/tag box. To exclude a documents with a certain tag, preface the tag with a "-". For example, to exclude documents tagged bird, type "-bird" in the box.
- On the Display Options tab using Zuse Create or on the left side of the pop up box using the Classic Editor you can control the display of the list.
- Select the Template to control the appearance of the list.
- Default:
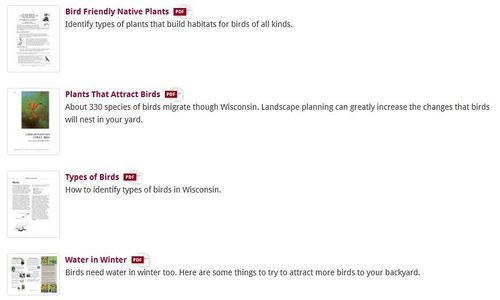
- Cat-list-full-info: This option displays thumbnails and the descriptions of your documents.
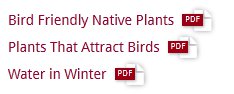
- Simple-list:
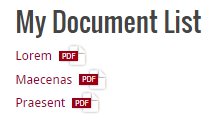
- Minimal-list/ Default List: This option does not display any details.
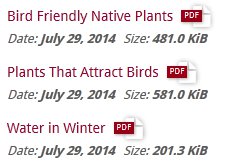
- Name-desc-list: This option displays only the title and the description.
- Default:
- Select the Use altername name if available to display the alternate title for files with an alternate title specified.
- Select the Files Per Page to control the length of the list. If you aren't seeing all of the files you expect on the list, confirm that if you have a maximum number of files per page listed you have also checked the Show paging checkbox. If you don't want paging, specify 0 files per page.
- Define the sorting properties. Select the property to sort by and sort direction.
- Select the Template to control the appearance of the list.
- If you are using the classic editor, after you choose the Insert button, a shortcode surrounded by square brackets will be inserted into your page. Do not edit the shortcode, instead, if you need to make a change, delete the current shortcode and insert a new file list.
Related articles
, multiple selections available,
Related content
Managing Documents with Categories, Tags and Alternate Titles
Managing Documents with Categories, Tags and Alternate Titles
More like this
Add a Tab or Accordion Menu
Add a Tab or Accordion Menu
More like this
Add a Link to a Single File (Inline)
Add a Link to a Single File (Inline)
More like this
Create a Page Using Zuse Create
Create a Page Using Zuse Create
Read with this
Add a List of Recent Posts
Add a List of Recent Posts
More like this
Add a Callout and Notices
Add a Callout and Notices
Read with this